Wednesday, November 25, 2009

Solar Oven or Cooker

Solar cooking go back to the 19th century and before. The French Foreign Legion was known to employ solar "hot boxes" while on campaigns in North Africa.
More recently, the idea was revitalized and updated with the work of Barbara and Sherry Cole in the 1960s and the 70s when they pioneered the solar box cooker made from cardboard while in India.
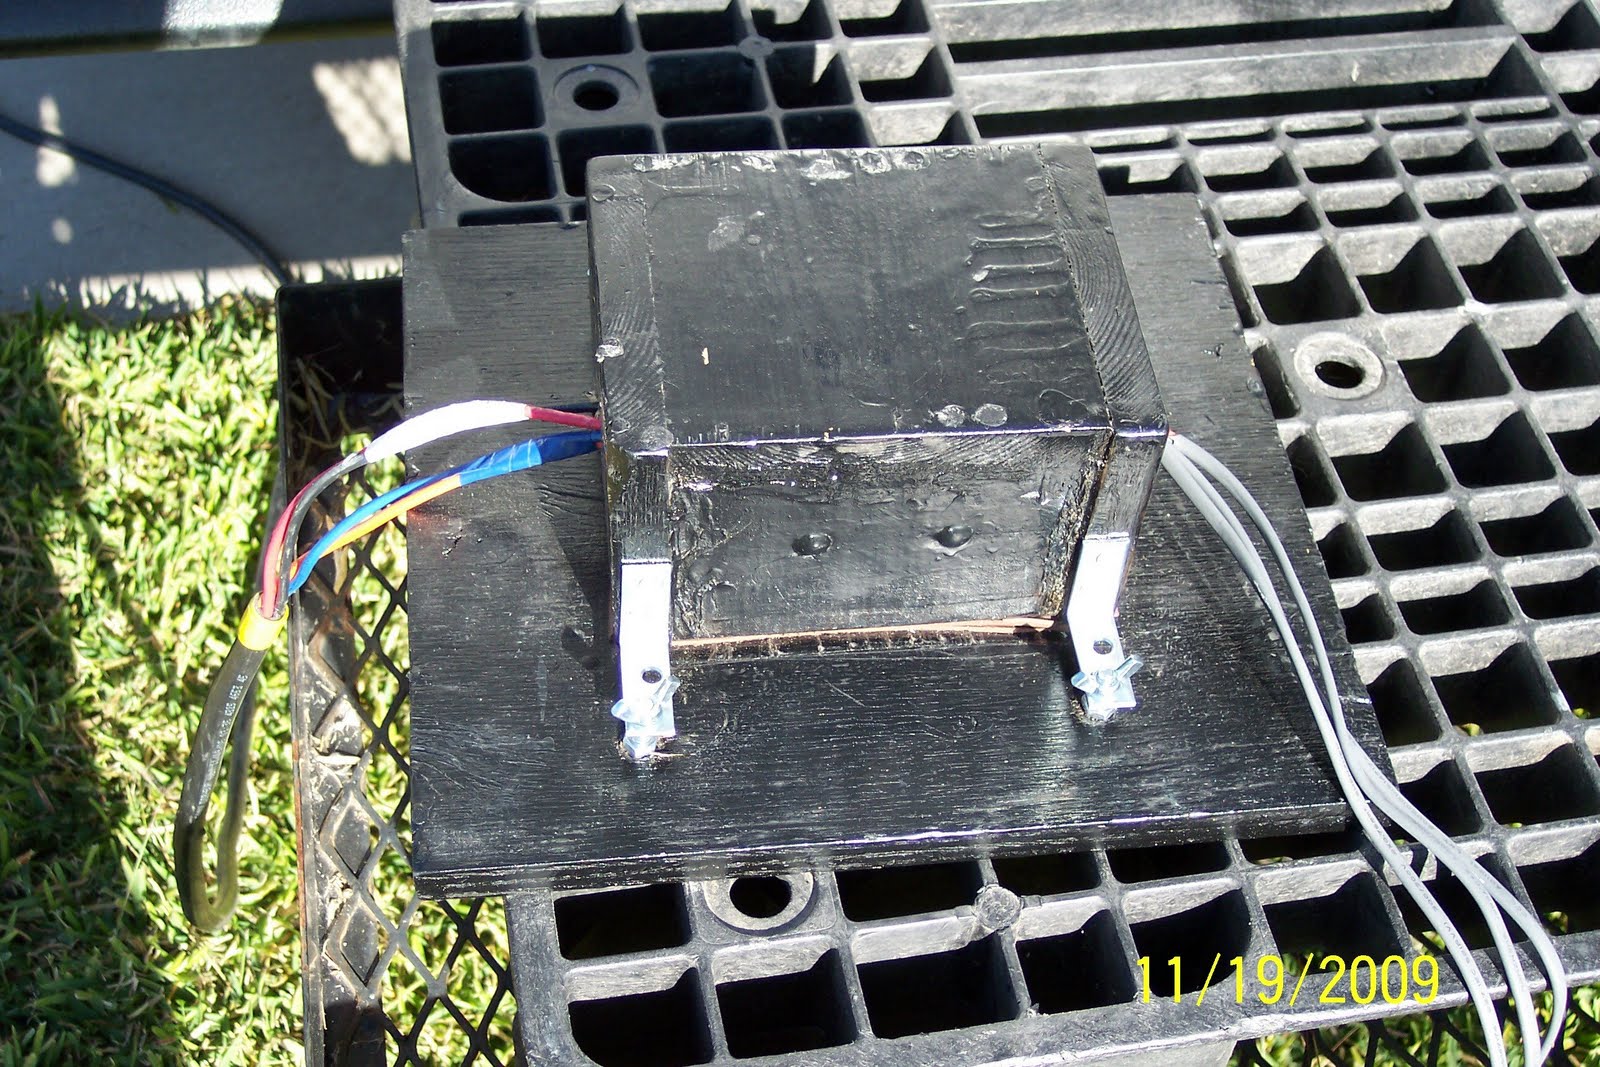
Solar cookers can also be used to pasteurize drinking water and sterilize medical equipment. There are three basic type of home-sized solar cookers. Parabolic Cooker, Panel Cooker, and the Box Cooker. I made a box cooker. I used a lot on material I had on hand to keep the cost down. You may be able to use the same material I did or you could find something better.
I want to thank Tom and Nancy Vineski where I got a lot of my info.

Pot for the Solar Cooker

This pot is large enough for two to four people. You want the food to be cooked to come close to filling the pot. The pot needs to be dark in color & a thin metal. I found my pot for $8.00, it is an eight inch pot. I put a turkey breast roast in the pot to cook. To find out how it cooked read on. It was 47 outside when I started the cooking.

Risers for the Solar Cooker

Here are the risers for the cooker so as to get a better angle with the sun.

Solar Cooker Outside Box

This is the outside box with the Styrofoam insulation.

Solar Cooker Inside Box

This is the inside box, the sides are covered with alum foil and the bottom is painted black.

Solar Cooker showing Glass Top

Just under the lid we have a glass top to let in sun but not let the heat out. I have covered the edges with duck tape, so as not to be hard to handle. You also see the pot, also note the inside box has alum foil on all sides. The bottom is painted black. You need a dark pot made of thin metal, (you can cover a shiny pot with 100 percent dark cotton cloth.

Solar Cooker from Side

From this side you can see the metal holding up the lid,also one of the handles, note one of the risers which hold the cooker at an angle for better sun.

Solar Cooker from Front

From this side you can see the lid that is covered with heavy duty alum foil, you can also see the metal used to hold the lid open.

Solar Cooker from Back

As you can see I raised the cooker to get more sun on the pot inside the box.

Solar Oven

Here is the finished product. It has a glass top. The lid, sides, bottom, & inside box are made of 3/4 plywood. The insulation between the outside box & inside box is foam. You can use almost any material for the construction, this is what I had on hand. Some have made the cooker out of cardboard, with paper for insulation. Tom & Nancy Vineski SKP # 31480 used a cardboard cooker they made at a picnic table on a trip into Mexico and Central American it fell apart after two years. You can read about them in Escapee Magazine, July/August 2009. I made mine for less than $30.00. The first thing I cooked was a turkey roast; I put it on at 9:40 AM it was 47 outside, it was done by 4:30 PM. I did turn the cooker so as to follow the sun.

Friday, November 20, 2009

The way I did my Solar

This is how I did my solar. It is not the best, but was a way to start and learn a little about solar. My system cost around $300.00, I found it on sale. I found two kits of 45 watts each, that will give my a total of 90 watts, which should keep my two 12 votes batteries up (I think). I also have a generator.
We are looking at workamper where we will have no electricity this summer of 2010. You can do much better this is just how I did it.

Solar Panels

Here are three of my solar panels. Showing the black box with the wire go to my trailer.

Lead in Wire

This is the wire that will go from the black box to the controllers. It needs to be heavy & as short as possible, but still do the job.

Inside of Black Box

This is the inside of my black box. I have used color tape to mark the difference wires to the two panels, also pos & neg wires.

Base for my Black Box

Black Box

This is my black box the wires on the right goes to the panels, the wires on the left go to the controllers.

Controllers at Work

Here you can see my controllers at work, the wire on the left comes from my black box, and my batters are on the right (you cannot see them).

Front of the Controllers

This is the front of my controllers it has an on-off switch also a switch for the meter to show what is going on. There are much better controllers on the market, you might want to get just one controller that will let you add on more panels. I bought mine as a kit. Each of my controller will just handle 45 watts.

Rear of Controllers

This is the back of the two controllers the wires from my black box go to the right side and the wires from left side of the controllers go to the batteries.

Battery AMG Glass Mat

I only have two 12 vote batteries but they are AMG or glass mat. They do not leak and you do not have to add water. They will also take a faster charge and should last longer than regular lead acid batteries. You can see I have a disconnect, which I use anytime we are not using the RV.

Tuesday, November 17, 2009

New Look

I have made some changes to the Blog beside just the name. Let me say the old blog is up & running, and will remain so. The pictures & trips on the old blog are very dear to me & I hope when Wilma & I are too old to travel, one of the kids will give us a computer & help us look at the pictures & read the stories, maybe a great great grandchild. As you know the old blog is http://www.weldonwilmatank.blogspot.com
On this new blog we have added ads, if you see one you are interested in just click on it for more info. We will get paid by the number of clicks, but please do not click unless you want the info. I hope to have more post on how Wilma and I do things, some may be good, some may not. Remember I am still old so spelling & wording do not count. Remember too that if life was a book and you did not travel you would only read one page. Thank for coming along.

Monday, November 16, 2009

Solar

We are adding a small amount of solar only 90 watts, that is a small amount. I am doing some experiments, I know very little on the subject even thou I have read-up on solar. I will not mount ours on the roof, but will keep my panels on the ground.
The roof mounts are best for security reason and they are always ready to go to work, when they are on the ground you must find a way to keep them from walking off, but you can park the RV in the shade of a nice tree and still get solar. When you can move the panels from spot to spot and tilt them you may find you will get better results. I will have some pictures in a few days.